Repair instructions
Bad Alternator vs. Bad Battery: How to Tell What’s Wrong with Your Car
When your car refuses to start, most drivers ask the same question: “Is it the battery or the alternator?” It’s a common issue we see all the time here at the shop. The good news? With a little know-how, you can narrow it down and figure out what might be going on under the hood.
In this post, we’ll break down the roles of the alternator and the battery, highlight the key warning signs for each, and show you how to test them safely at home. Let’s dive in.
What’s the Difference Between the Battery and the Alternator?
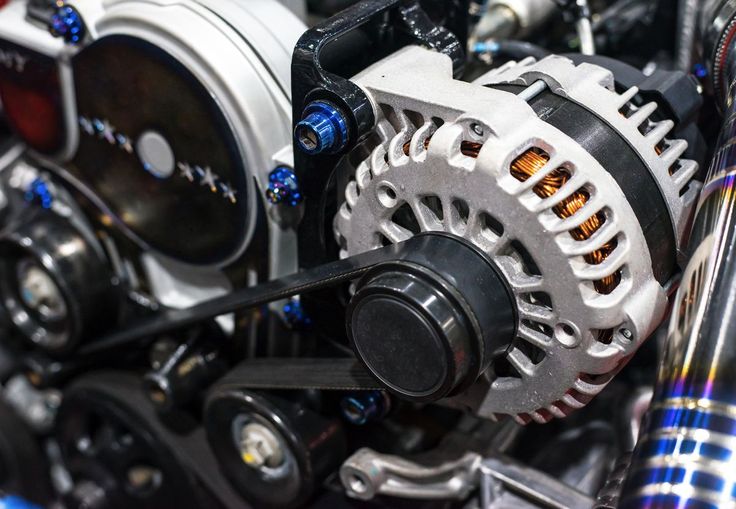
Your vehicle’s electrical system relies on two key components: the battery and the alternator. They work together to keep your engine starting and your electronics running smoothly.
🔋 The Battery:
- Supplies electrical power when the engine is off
- Powers the starter motor to crank the engine
- Typically lasts 3 to 7 years

⚙️ The Alternator:
- Charges the battery when the engine is running
- Powers your vehicle’s electrical systems (lights, radio, AC, etc.)
- Designed to last the lifetime of your car but can still wear out
Common Signs of a Failing Battery
Batteries wear out more often than alternators, and the symptoms are usually easy to spot:
- 🔑 Engine doesn’t crank or start
- 🐢 Engine cranks slowly
- 💡 Dim headlights or dashboard lights
- 🚗 Engine starts after a jump and keeps running
Pro Tip: If your vehicle starts and stays running after a jump, the battery is likely the issue not the alternator.
Common Signs of a Bad Alternator
Although less common, alternators do fail. Here’s what to watch out for:
- 💡 Dim or overly bright headlights
- ⚡ Electrical issues (flickering lights, malfunctioning accessories)
- 🔋 Battery repeatedly going dead
- 🎶 Unusual noises (grinding or whining from the engine bay)
- 🚨 Battery warning light on the dashboard
- 🚘 Engine stalls while driving
Keep in mind: A bad alternator can kill a good battery. So if your battery keeps dying, don’t rule out the alternator just yet.
How to Test Your Battery and Alternator at Home
Most professional mechanics use load testers or charging system analyzers, but you can still get useful results with a basic digital multimeter (DMM). Here’s how to do it:
✅ Step 1: Test the Battery’s State of Charge
You’ll need a fully charged battery to test the alternator properly.
- Put on safety glasses.
- Set your DMM to 20V DC.
- Connect the black lead to the negative (-) battery terminal.
- Connect the red lead to the positive (+) terminal.
- A healthy battery should read 12.2 volts or higher.
If it reads below 12 volts, charge the battery before moving forward or have it tested for free at most local auto parts stores.
✅ Step 2: Test the Alternator Output
Once the battery is confirmed good:
- Start the engine.
- Leave the DMM leads connected as before.
- Rev the engine to about 1,500–2,000 RPM.
- A properly working alternator should produce 13.5 to 15.0 volts.
If the voltage is outside that range, you might have a failing alternator, a worn belt, or an issue with the voltage regulator.