Repair instructions
Expert Guide: How to Adjust Projector Headlights
Overview
Projector headlights utilize a standard light source and reflector, but they stand out due to a specialized lens that projects a focused beam of light ahead. While adjusting these headlights is manageable without disassembly, achieving the perfect alignment can be a bit tricky.
To get started, gather your tools, position your vehicle correctly, and take precise measurements. Keep your owner’s manual handy to know the appropriate parking distance from your adjustment wall. Adjust each headlight one direction at a time—first horizontal, then vertical. Regular checks after adjustment are crucial to ensure they remain properly aligned over time.
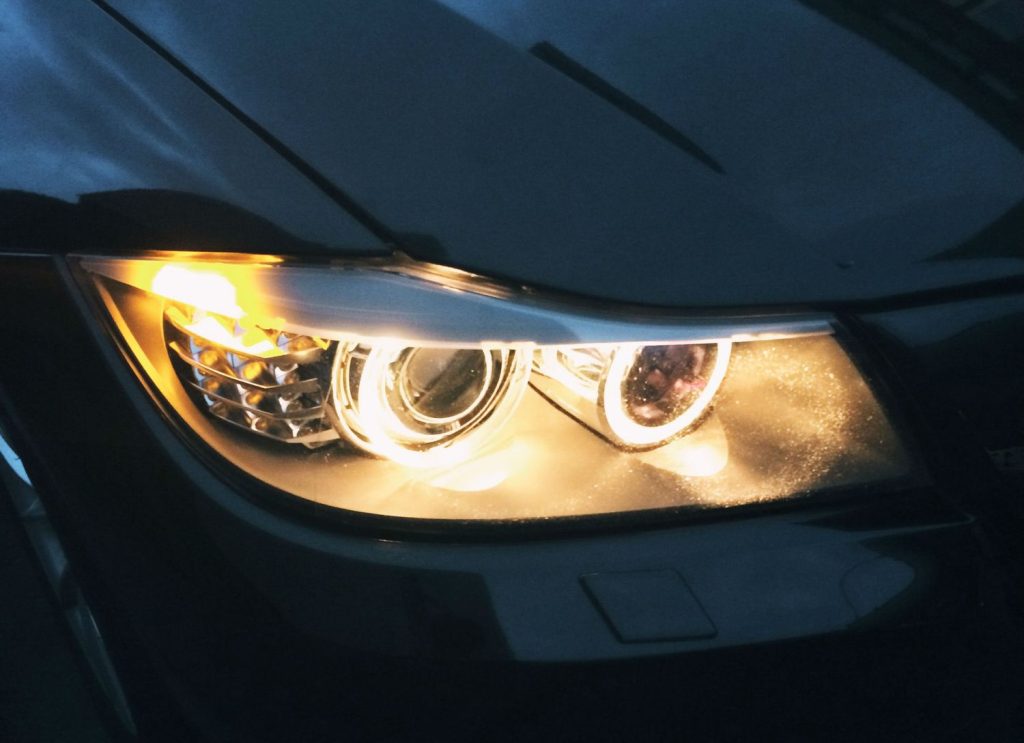
What Are Projector Headlights?
Projector headlights differ from traditional headlights by incorporating a lens that focuses and magnifies the light beam, resulting in reduced glare for oncoming drivers when properly installed.
Steps for Adjusting Projector Headlights
1. Gather Your Tools
Before you begin, ensure you have all necessary tools ready:
- Owner’s manual
- Ratchet or screwdriver
- Masking tape
- Measuring tape
- Level
- Dry erase marker
- Protective gloves and goggles
If your vehicle has built-in bubble levels near the headlights, use those for aiming.
2. Position Your Vehicle
To adjust projector headlights effectively, park your vehicle on level ground, about 25 feet from a wall or garage door. Avoid extra weight in the vehicle during this process to maintain a consistent focus level. If your vehicle typically carries a load, keep it in for the adjustment.
Safety First: Turn off the engine, engage the parking brake, and ensure the headlights are off to prevent electrical issues. Don your protective gear.
3. Take and Mark Measurements
Measure the height of each headlight from the ground to the center of the lens and the distance between the two lenses. Use masking tape or a dry erase marker to mark the center of each headlight on the wall. Transfer these measurements to the wall, ensuring everything is level.
4. Aim the Projector Headlights
Horizontal Adjustment
Start with horizontal alignment. Park close to the wall to mark the horizontal centerline of each headlight. Then, move back to 25 feet and adjust using the horizontal adjustment screw until the beams are parallel and properly aligned.
Vertical Adjustment
Next, mark the vertical centerline for each headlight while parked close to the wall. Back up again and adjust using the vertical adjustment screw to achieve the correct alignment.
5. Double-Check Alignment
After adjustments, mark the vehicle’s centerline on the wall and back up 25 feet. Ensure that both beams align horizontally and vertically, with the brightest part of each beam at or below the vehicle’s centerline to minimize glare for oncoming traffic. Make any minor tweaks as needed.
6. Regularly Inspect Your Headlights
Keep an eye on your projector headlights. Environmental factors and normal wear can lead to misalignment. Regularly check and clean them to ensure they remain effective and safe for driving.
With these expert tips, you can confidently adjust and maintain your projector headlights for optimal performance and safety on the road.