Repair instructions
How to Install LED Light Bar
Summary:
Installing an LED light bar is a straightforward task that can be done with a little preparation and the right tools. The process involves disconnecting your vehicle’s battery, selecting a solid mounting point, drilling precise holes, and securing the light bar with bolts and nuts. Wiring the system involves routing the harness through the firewall to the dashboard and ensuring all connections are solid. Below is a step-by-step guide to help you install your light bar like a pro.
1. Step 1: Prepare the Vehicle
The first step in any installation job is ensuring safety. Start by disconnecting your vehicle’s battery. Begin with removing the ground terminal, followed by the positive terminal to avoid any short circuits.
Note: If you only disconnect the ground terminal, the positive terminal can stay connected without concern. Simply disconnecting the positive terminal alone could still lead to a short if it comes into contact with the vehicle’s frame.
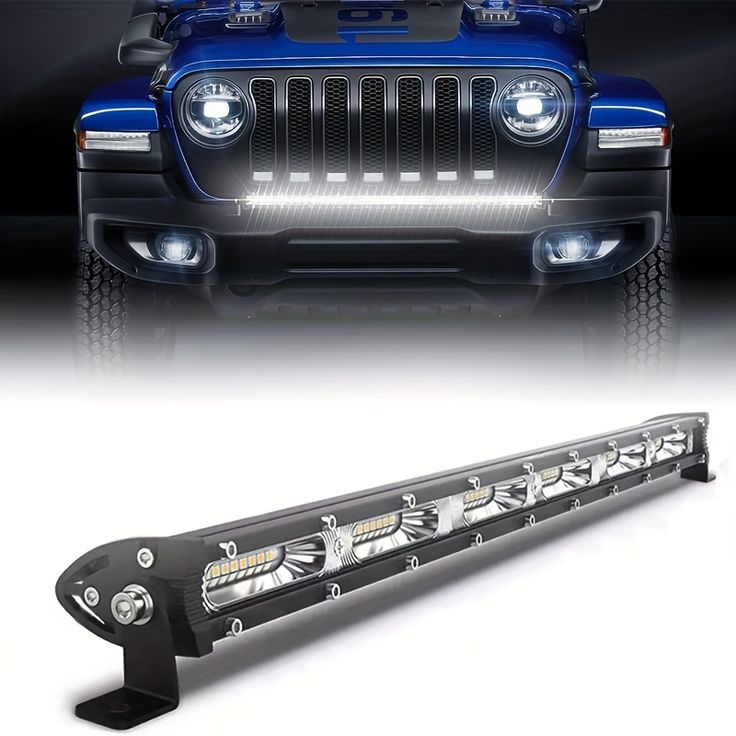
2. Step 2: Set Up the LED Light Bar
Now, it’s time to mount the LED light bar. Choose a sturdy location on your vehicle’s exterior that will support the weight of the bar and won’t allow rainwater to seep into the cabin. Be mindful of the mounting surface, and use fender washers if you’re drilling into thinner materials to help distribute the weight and prevent leaks.
Important Note: Ensure the mounting points you select will hold the light bar securely, especially when driving off-road, and avoid any areas that could compromise vehicle components.
2.1: Mark the Holes for the Light Bar
Before you drill, always wear safety glasses. Mark the hole locations using a marker or the template that often comes with the light bar kit. Use a center punch to create small indentations where you’ll drill, ensuring the drill bit doesn’t wander. Start with a smaller bit to create pilot holes, then finish with the appropriate size.
2.2: Mount the Light Bar
Now it’s time to install the light bar itself. Secure it using bolts and nuts – avoid self-tapping screws, unless absolutely necessary. For each bolt, use a flat washer under the head and place both a flat washer and a lock washer under the nut (with the lock washer closest to the nut). Tighten the bolts after you’ve adjusted the light bar into its optimal position.
3. Step 3: Install the Switch
Once the light bar is mounted, you can move on to the switch installation. Start by detaching the switch segment from the main wiring harness. Route the wire through the vehicle’s firewall and into the dashboard, choosing a location that’s easy to reach but doesn’t interfere with other controls.
If the switch requires a mounting bracket, install it under the dash, or consider mounting it in an existing switch plug if your vehicle has one. Secure the switch with adhesive or screws, then reconnect the wiring harness to the switch.
4. Step 4: Position the Relay and Cables
Mount the relay near the battery, typically on the firewall, ensuring it’s accessible but not exposed to extreme heat. Next, connect the red (positive) wire to the positive terminal of the battery and the black (negative) wire to the chassis ground. Make sure to route the cables neatly, avoiding contact with hot engine components.
5. Step 5: Wire the Light Bar
With the switch and relay in place, you can now wire the light bar. Attach the positive (red) and negative (black) connector wires to the corresponding terminals on the light bar. Once the wiring is complete, adjust the angle of the light bar to your preferred setting, then tighten all bolts securely.
6. Things to Keep in Mind
LED light bars are typically designed for off-road use. In many states, they are not street legal, so make sure to check local regulations before using them on public roads. Additionally, always use high-quality components to ensure the system is reliable and safe.
By following this professional guide, you’ll be able to install your LED light bar efficiently and safely, ensuring improved visibility for your off-road adventures or work projects. With the right tools and attention to detail, you’ll have your new lighting system up and running in no time.