Repair instructions
Tips on How To Fix Your Rear Window Defroster
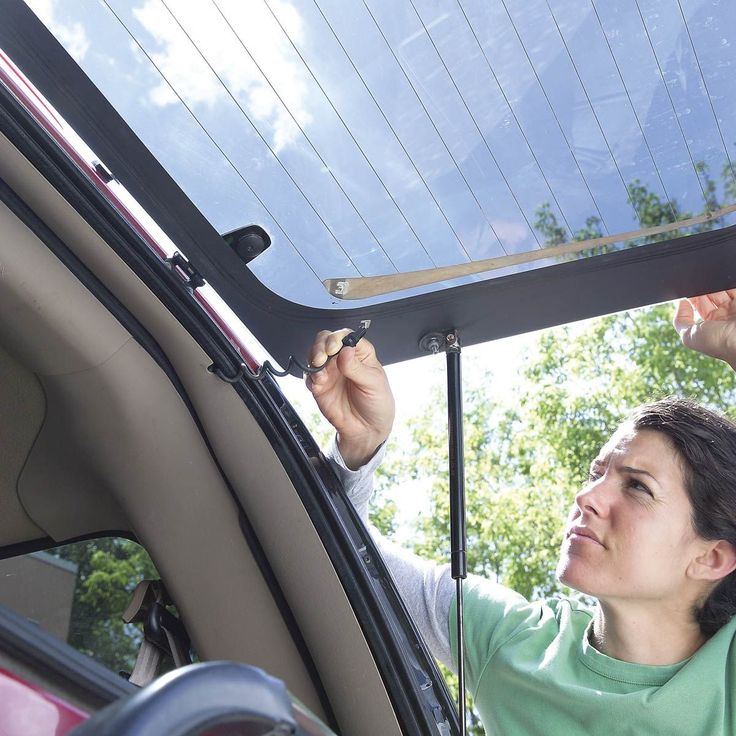
Summary: Repairing your rear window defroster grid is a cost-effective solution that can be done in your own garage, without the need to replace the entire windshield. With the right repair kit, preparation, and technique, you can restore functionality to your defroster lines. By following the steps below, you’ll ensure a smooth repair process and long-lasting results.
1. Choose the Correct Repair Kit
Selecting the right defroster repair kit is crucial for success. Depending on the type of damage, kits vary. You’ll typically find kits with conductive paint for repairing broken grid lines, or kits with replacement connector tabs for reattaching the grid’s power supply. There are also complete grid kits that apply a new grid over the windshield, though these can be bulkier and less aesthetically pleasing.
Before purchasing, inspect your defroster grid. Look for breaks or detached tabs, and test with a multimeter or test light to pinpoint the exact issue. Make sure to also check the fuse, as a blown fuse could also cause the grid to fail.
2. Clean and Prepare the Window
A clean surface is essential for a successful repair. Dust, grime, and residue can interfere with the conductive paint and adhesive, leading to poor adhesion or an uneven finish. Thoroughly clean the entire rear windshield, especially around the defroster grid, before starting the repair. A spotless surface will help you spot any damages clearly and prevent the new materials from getting contaminated. Ensure the defroster is turned off before proceeding.
3. Use a Voltmeter to Locate Breaks
If the damage to the grid isn’t immediately visible, a voltmeter can help identify breaks in the lines. Activate the defroster and test the voltage across the grid. A working grid will show a consistent 12-volt reading, while a break will cause a drop in voltage. Move the voltmeter across the grid, marking any low-voltage spots with a grease pencil. Once you’ve identified all the breaks, turn off the defroster before starting the repair process.
4. Apply the Conductive Paint with Precision
For a clean, professional-looking repair, use masking tape to define the repair area. Tape both above and below the broken line, ensuring the gap between the tapes matches the width of the original grid lines. When applying the conductive paint, take care to avoid getting paint on the surrounding glass. If you make a mistake, use lacquer thinner or rubbing alcohol to clean the excess paint off quickly.
5. Sand Down the Old Tab Residue
If you’re replacing one of the connector tabs, you’ll likely find old adhesive residue on the glass. Gently sand down the old tab’s remains using fine sandpaper or a file to create a smooth surface for the new tab to adhere to. This ensures a secure connection and prevents any imperfections when reattaching the tab. Be careful not to scratch the glass while doing this.
6. Practice Patience
Patience is critical to ensuring a successful repair. After applying the conductive paint, wait 30 minutes before removing the masking tape. Allow an additional 8 to 24 hours for the paint to fully set before testing the defroster. If you’re replacing a connector tab, let the adhesive dry for at least 24 hours before powering up the defroster. Rushing the process can lead to poor adhesion or a weak repair.
7. Get a Replacement Defroster Switch, if Needed
If the issue lies with the defroster switch, it can be replaced without much hassle. You can even have the switch delivered to your home, saving you time and effort. Make sure to inspect and test the switch, as a faulty one may be the cause of your defroster problems.
Final Thoughts:
Fixing your rear window defroster is a manageable DIY project that can save you the expense of replacing the entire windshield. By purchasing the right kit, preparing your window properly, and following the steps above, you can restore your defroster grid to full functionality with minimal cost and effort. With a little patience and attention to detail, your rear window will be fog-free and clear once again.