Repair instructions
Tips on How to Remove a Window Crank Handle
Summary:
Removing a window crank handle is a straightforward task when done correctly, but it requires some finesse. The handle is secured by a metal retainer clip that locks it in place, preventing it from being pulled off. By understanding how the clip works and using the right technique, you can safely remove and reinstall your window crank handle without damage.
How the Window Crank Handle is Attached
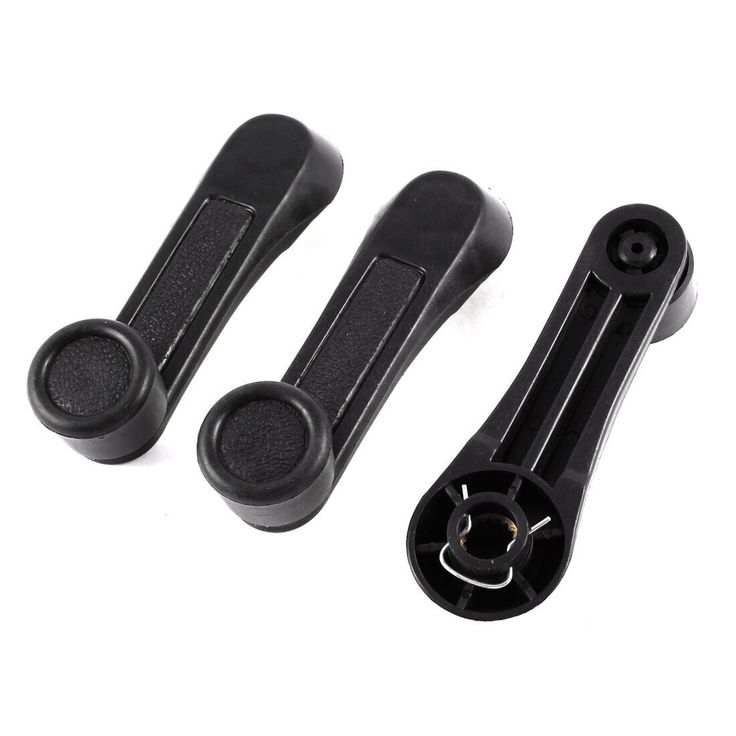
The window crank handle is typically secured by a metal retainer clip, which locks into a notch on the metal rod connected to your window regulator. This clip grabs onto the teeth of the plastic crank handle and onto the rod’s steel grooves, making it impossible to remove the handle without first releasing the clip.
Tools Needed:
- Thin cloth (such as a microfiber towel or rag)
- Flathead screwdriver (optional)
Step 1: Locate the Retainer Clip
First, you need to locate the hidden retainer clip that holds the crank handle in place. It’s positioned where the handle meets the rod, usually behind a small gap or washer.
Step 2: Use a Thin Cloth to Extract the Clip
To release the retainer clip, use a thin piece of cloth—like a microfiber towel or rag—to gently pull it off the rod. This cloth helps you grip the clip without damaging the surrounding parts. Be sure the cloth is thin enough to fit into the small gap between the handle and the trim.
Step 3: Pry the Crank Handle with a Flathead Screwdriver
If there is no visible gap, you may need to create one. Use a flathead screwdriver to carefully pry the window crank handle upwards, creating enough space to insert the cloth. Once the gap is wide enough, slide the cloth in to work the retainer clip free.
Step 4: Determine the Retainer Clip’s Orientation
The metal C-clip must be pulled outward to release its grip on the crank handle. It’s essential to determine how the clip is positioned so you can effectively remove it. A quick inspection through the gap between the handle and the washer should give you a clear view of how it’s locked in place.
Step 5: Avoid Losing the Retainer Clip
Be cautious when removing the clip; it’s small and can easily fall into hard-to-reach places. Losing the clip means you won’t be able to reattach the handle properly, which could result in difficulty operating the window.
Step 6: Reinstall the Crank Handle
Reinstalling the crank handle is straightforward. Simply place the C-clip back over the grooves on the crank handle, aligning it with the notch on the rod. Push the crank handle back into its original position. Once installed, test the crank to ensure it’s securely in place and that the clip has locked the handle onto the rod.
Conclusion
Removing and reinstalling a window crank handle requires patience and precision. By following these steps and using the proper tools, you can easily remove the handle for door panel repairs or maintenance without causing damage. Avoid using excessive force—take your time and use the right technique to ensure a successful job.